How I Install Magento 2 Open Source via Docker
What is needed to get started?
First of all, you need to install Docker Desktop. We also need to install Homebrew to install curl through Homebrew.
Homebrew is required only for macOS and Linux users. If you have Windows, you can skip the Homebrew section and go to Docker Desktop.
Homebrew
Homebrew is used for macOS and Linux systems to install additional libraries. Homebrew also installs various versions of PHP, MySQL, MariaDB, and more. I will be using Homebrew to install the curl library.
To install Homebrew, you need to run the following command in the terminal:
/bin/bash -c "$(curl -fsSL https://raw.githubusercontent.com/Homebrew/install/HEAD/install.sh)"
Also, you can familiarize yourself with Homebrew's capabilities in more detail on the brew.sh website.
In the terminal, after a successful installation, I can see the result of running the brew command:
brew commands
Using the above command, you can view a list of all available commands:
maxpronko@MAXS-MBP ~ % brew commands
==> Built-in commands
--cache                         completions                     info                            postgresql-upgrade-database     unlink
--caskroom                      config                          install                         postinstall                     unpin
--cellar                        deps                            leaves                          pyenv-sync                      untap
--env                           desc                            link                            rbenv-sync                      update-report
--prefix                        developer                       list                            readall                         update-reset
--repository                    docs                            log                             reinstall                       update
--version                       doctor                          migrate                         search                          upgrade
analytics                       fetch                           missing                         setup-ruby                      uses
autoremove                      formulae                        nodenv-sync                     shellenv                        vendor-install
casks                           gist-logs                       options                         tap-info
cleanup                         help                            outdated                        tap
commands                        home                            pin                             uninstall

==> Built-in developer commands
audit                      command                    generate-cask-api          pr-publish                 style                      update-maintainers
bottle                     contributions              generate-formula-api       pr-pull                    tap-new                    update-python-resources
bump-cask-pr               create                     generate-man-completions   pr-upload                  test                       update-sponsors
bump-formula-pr            determine-test-runners     install-bundler-gems       prof                       tests                      update-test
bump-revision              dispatch-build-bottle      irb                        release                    typecheck                  vendor-gems
bump-unversioned-casks     edit                       linkage                    rubocop                    unbottled
bump                       extract                    livecheck                  ruby                       unpack
cat                        formula                    pr-automerge               sh                         update-license-data

==> External commands
services
curl
After successfully installing Homebrew, you need to install curl. To do this, I run the command in the terminal:
brew install curl
Also, you need to run the command to be able to run brew curl in the terminal.
echo 'export PATH="$(brew --prefix)/opt/curl/bin:$PATH"' >> ~/.zshrc
source ~/.zshrc
Docker Desktop
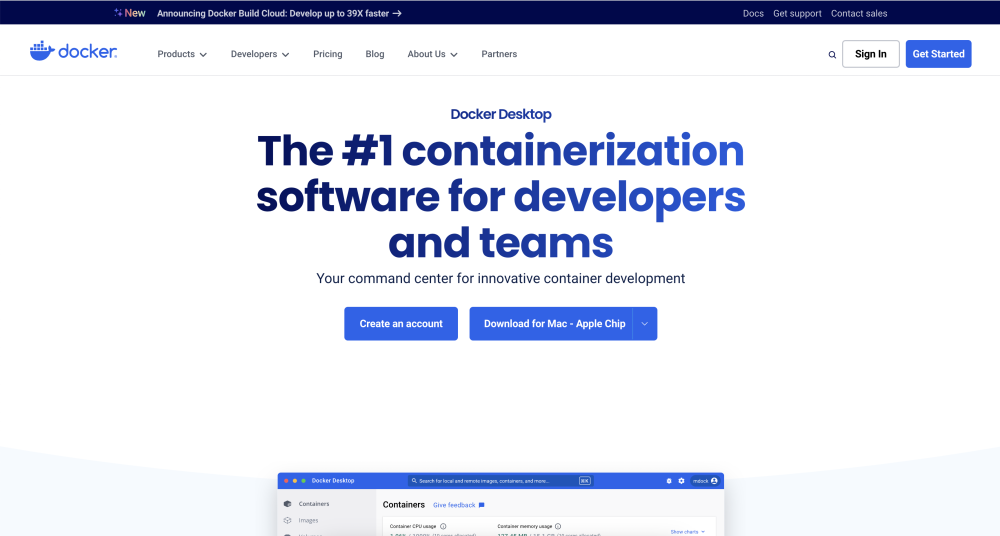
First of all, I installed Docker Desktop. I understand that there are many alternatives on the market now, and offers of free to host Docker containers locally. But Docker Desktop works for me at the moment. If it stops working, I will switch to something faster.
Docker Desktop can be downloaded from docker.com. Here is the link to the Docker Desktop download page.
Installing Magento Open Source
I go to the directory with projects that are launched using Docker.
cd ~/www/docker/
Next, you need to create a new directory in which a new Magento Open Source project will be created together with Docker files.
For example, if I want to run Magento Open Source version 2.4.6-p3, then the directory name will correspond to the version.
mkdir magento246-p3
In the case of client projects, the name of the directory will be the domain name of the site. For example, if the client's domain is www.developerandcode.com, then the directory will be called developerandcode. This is convenient because the directory name serves as a project identifier rather than the exact name of the actual domain. Anyway, locally the domain will most likely be magemastery.test.
I go to the directory that I just created using the cd command:
cd $_
I run a command that will download all the necessary files and run a script that will install Magento Open Source.
curl -s https://raw.githubusercontent.com/markshust/docker-magento/master/lib/onelinesetup | bash -s -- magento.test 2.4.6-p3 community
At the end of the above command, we pass a parameter for the Magento version (2.4.6-p3), the local domain name (magento.test), and the community type, which indicates that we are installing the Open Source version.
bash -s -- magento.test 2.4.6-p3 community
These parameters can be changed if a different version or domain is needed.
When installing an SSL certificate, the script may ask for an administrator password.
Generating SSL certificate...
cat: can't open '/root/.local/share/mkcert/rootCA.pem': No such file or directory
Created a new local CA ????
The local CA is now installed in the system trust store! ⚡️
System password requested to install certificate authority on host...
Password:
At the end of the installation process, the following lines should be written in the console:
Enabled developer mode.
Docker development environment setup complete.
You may now access your Magento instance at https://magento.test/
This means the following:
- Magento Open Source project is successfully installed
- Magento Mode is included in the development mode (developer)
- The local domain is configured as https://magento.test/ and I can see the site through the browser.
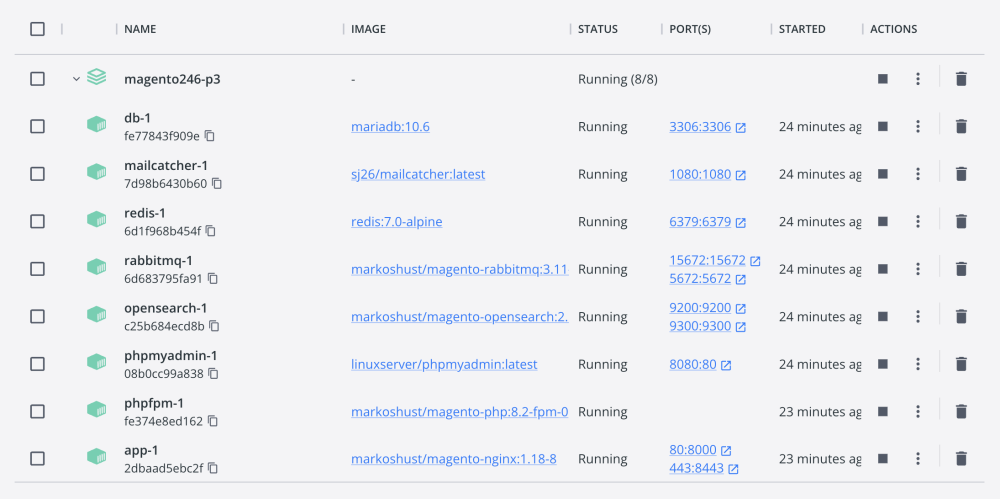
After successfully running the above command, you can see the magento246-p3 active directory in Docker Desktop.
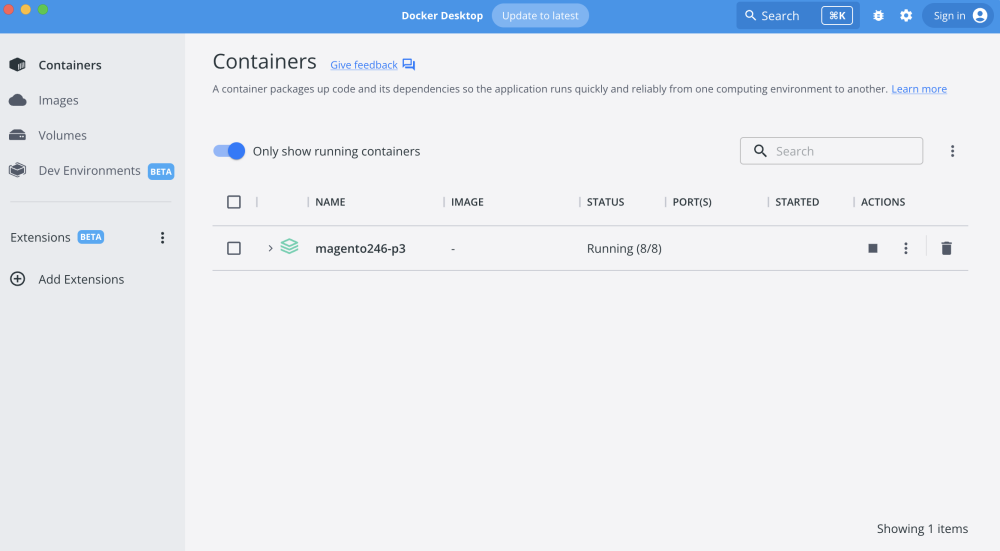
If you open the directory, you can see all running containers that are necessary for Magento Open Source to work.
Sample Data
Usually, I also install additional test data to work with when developing Magento functionality locally. To do this, I run the following command in the terminal.
It is important to be in the directory I created first ~/www/docker/magento246-p3.
bin/magento sampledata:deploy
And the command to install test data into the database:
bin/magento setup:upgrade
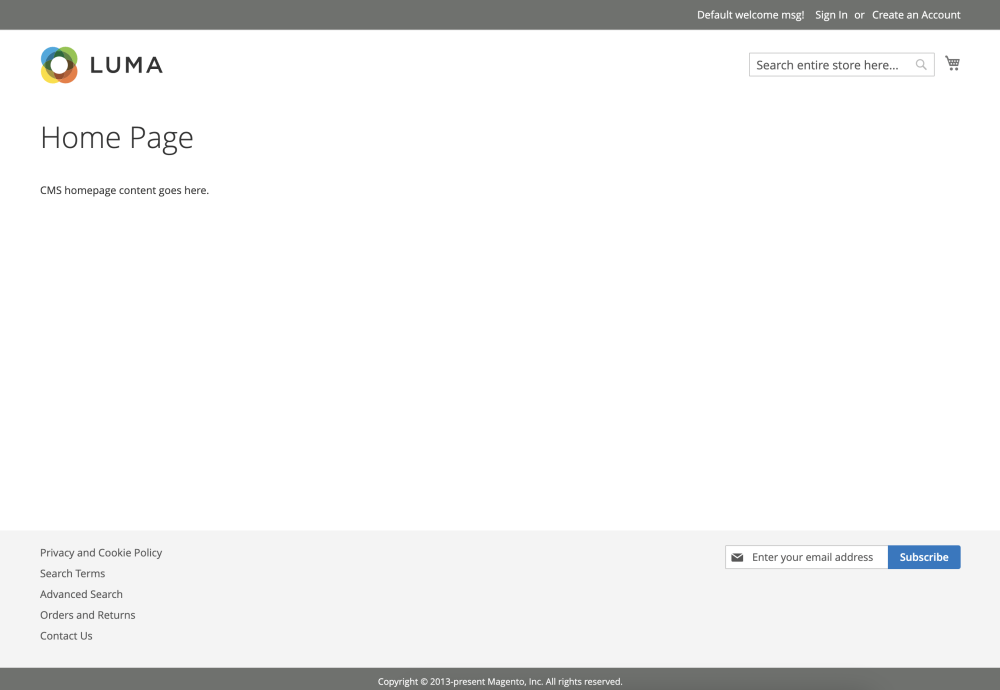
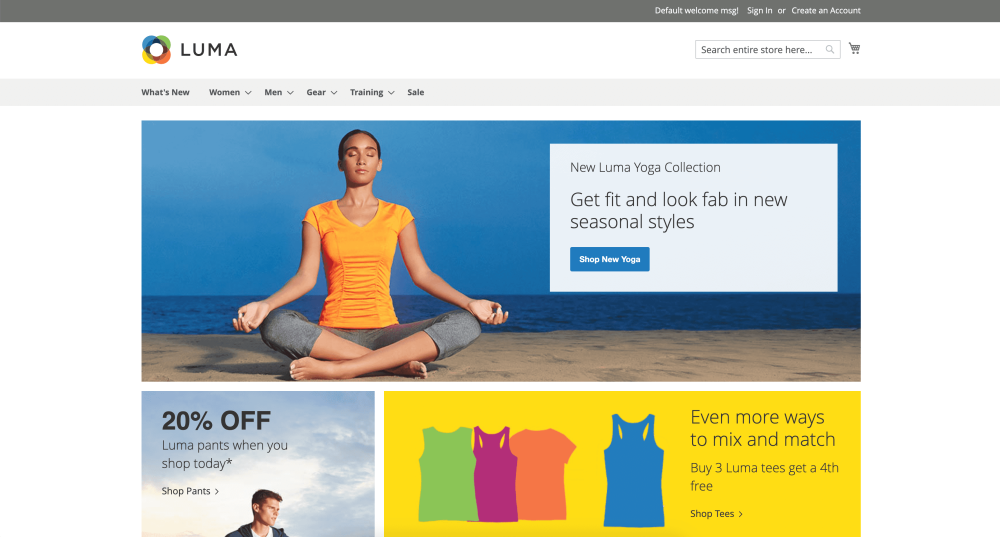
If you open the browser or restart the tab where I first opened the https://magento.test/ project, you can see the updated version of the home page along with the test data.
Conclusion
So in this post, I have shared my process of installing Magento Open Source using Docker. I've also shown which additional libraries are required to successfully set up a local environment. The next step is to open PHPStorm and start writing Magento 2 modules.
By the way, if you are interested in learning how to develop source code for the Magento 2 platform, I have a lot of videos on my YouTube channel where I teach tutorials for developers.